Besides all of the above projects, I've also had time to get well-acquainted with these two honeys.
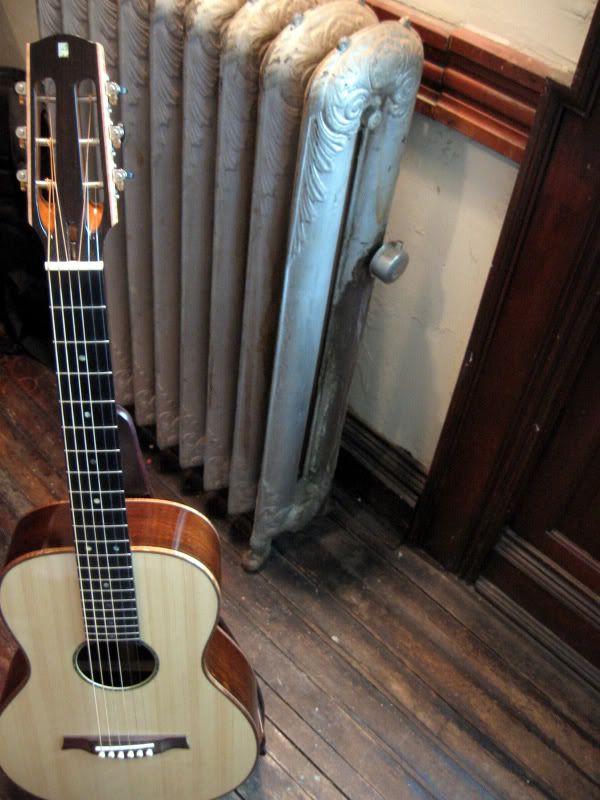
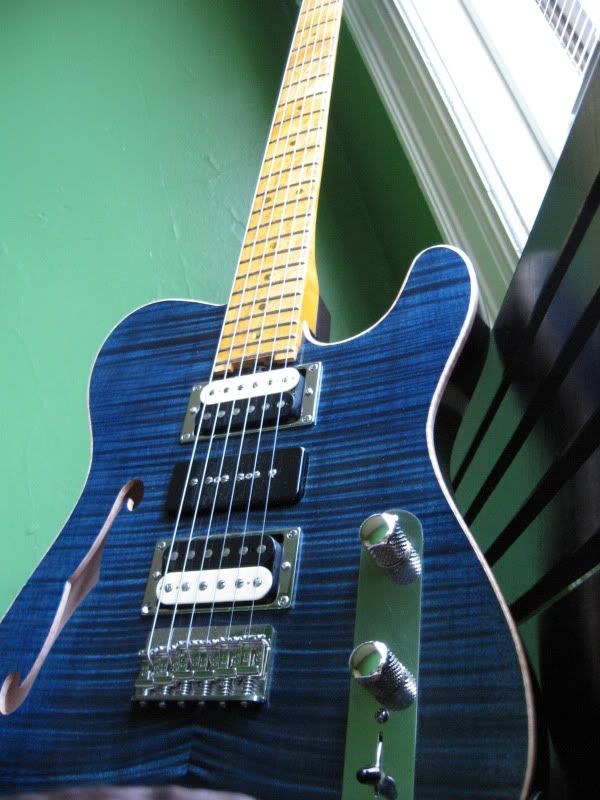
I'm just starting to get used to the idea that I made these guitars, though it still seems weird. These things take time, I guess. Occasionally, I get to hear another musician play and react to the instrument and that is a lot of fun. That little acoustic really sounds amazing.
The latest development is that I am back in classes, learning more, building again and enjoying this ever-expanding world that we live in. My current build is modeled on a 1922 A2-style Gibson mandolin. It is an arched-top instrument, the focus of the class. We have the choice of building that, a Strad-style violin or a traditional Benedetto "Jazz Box" guitar. I plan to take the violin building and stringed instrument repair classes next year and I can't play jazz, so I picked the mandolin. They are fun to noodle on and I figure I've got room for a little hobby. Or maybe one of my bluegrass-playing friends will take a shine to it...
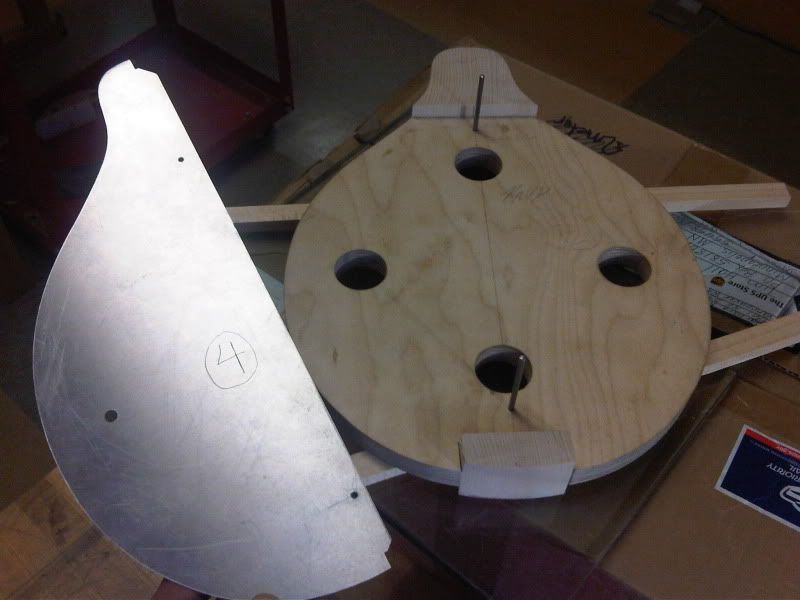
We build the body around an inside mold. The mold has two surfaces that we glue blocks to. There is a "head" and a "tail" block. These become the foundation that the rest of the instrument is built upon. Once the structure is strong enough to support itself, the mold is separated from the blocks and removed, leaving behind the carved back plates,ribs, and kerfing. These joined parts await the gluing of the carved top plates and the neck. At this point, it will be mostly finished. But I am getting ahead of myself...
This shot shows the inside mold with the blocks already squared, sized and trimmed and glued into the mold. Also shown is the half-template and pins which allow us to place the template over any quadrant of the mold in order to maintain symmetry and accuracy to the established center line.
These handsome bits of wood will, over the course of the next nine months, be crafted into a fine quality handmade mandolin. Note the long and narrow strips of wood...
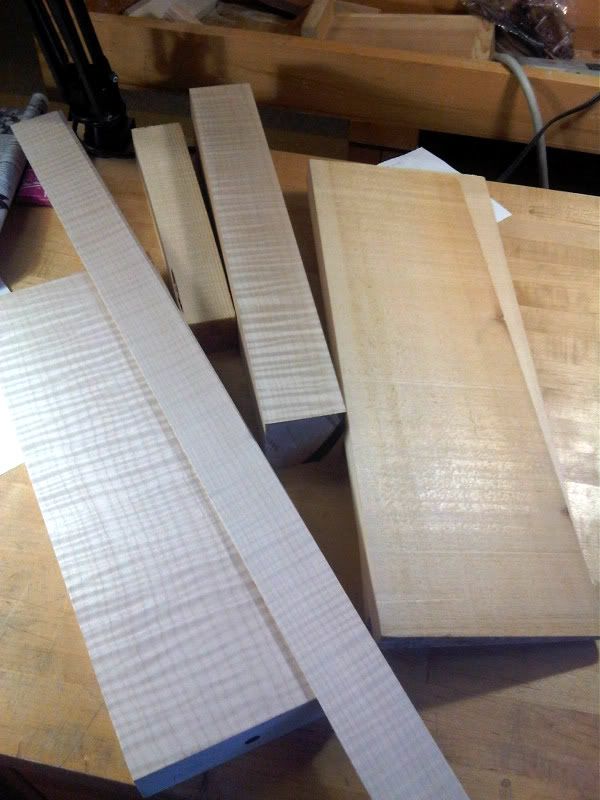
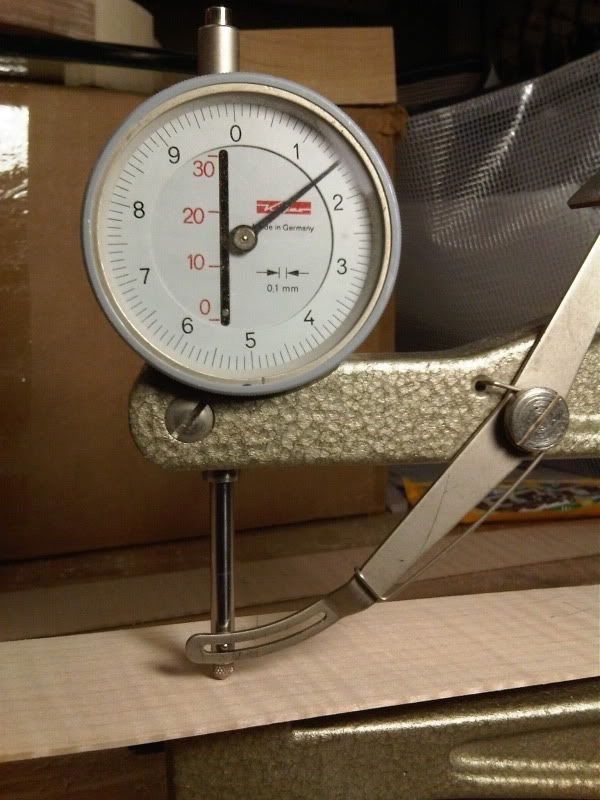
Great flaming tonewoods Batman! Those long, narrow sections get sanded to thickness by a fancy machine to about 1.7 mm thick. They are then hand-worked further to a thickness of 1.6 mm. We use a cabinet scrapper with a very sharp edge to achieve this. Shown is the caliper and a reading of high-quality thicknessing.
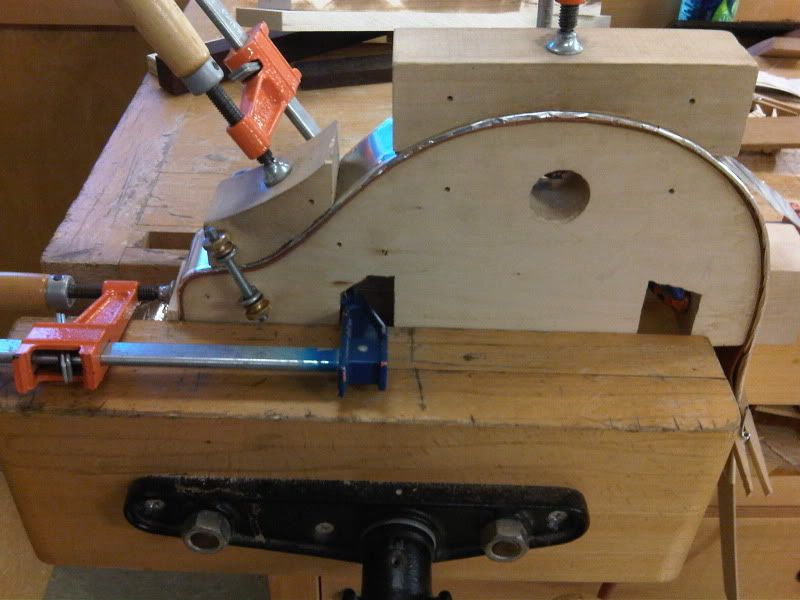
If you look at the picture of the bending mold below, you'll notice that the head block has an almost 90 degree turn. We have to bend a piece of wood around that corner without cracking the material. We remove more wood in this area, down to 1.2 to 1.3 mm to improve our chances, but it remains easier said than done. The treble side bent perfectly on the first try. On the bass side, it was on my fif (!) attempt that I made a successful bend. I actually skipped the high-tech approach and bent the entire bass side with just my hands and a bending iron. That was fun and right up my alley. This photo shows the treble side on the bending mold, already bent and cooling.
Next, I will glue the ribs to the blocks and the outside of the mando will start to take shape. Then a bit of kerfing will be glued in to line the inside edges of the ribs. Always looking ahead, I cannot wait to carve the back and top plates.
Thanks for reading!
Tim

www.lowstrungguitars.com doesn't look pretty. All I see is a cgi-bin.
ReplyDeleteHey Brian... I'm still waiting on the build or whatever it's called. I'll post when the site is live.
ReplyDelete