Hello and welcome back.
It’s been a long time! I just
couldn’t spare one minute of our juicy Minnesota spring (or summer…) to sit at
the computer, making blog. It seems that
I spent most of those cherished seasons enjoying live music. In between shows, I cut some wood here and
there, I glued some things together and completed a new instrument! She’s a beaut and I want to show her to you
but let’s take it nice and slow. I’ll
pick up where I left off last time…
In the last post, I had just glued in the kerfing. The rosette comes next. (If you don’t know
what a rosette is or why it’s there, just dig back into my posts from January
2011.) It’s a fun bit because I’m adding some bling to the build. I decided to substitute abalone for the Koa
ring that was supplied. It matches the
very first acoustic guitar that I made and that just seemed right. The pieces fit into a channel, as shown. Then you flow cyanoacrylate AKA super glue around
the materials. After proper dry time, I
used a wee file and a cabinet scraper to bring everything level with the top.
When I began building this piece, I decided to use the
prettiest materials that I had available.
For the bridge plate, I again drew from my own stash and found a lusty
chuck of highly figured maple. Spare
wood from my mandolin, I do believe.
Some folks wouldn’t want figured wood for a bridge plate, for
stability’s sake. I decided that since
no pins or screws would pierce the plate, that I would take the gamble. I couldn’t resist the idea of there being
this beautiful thing hidden deep inside.
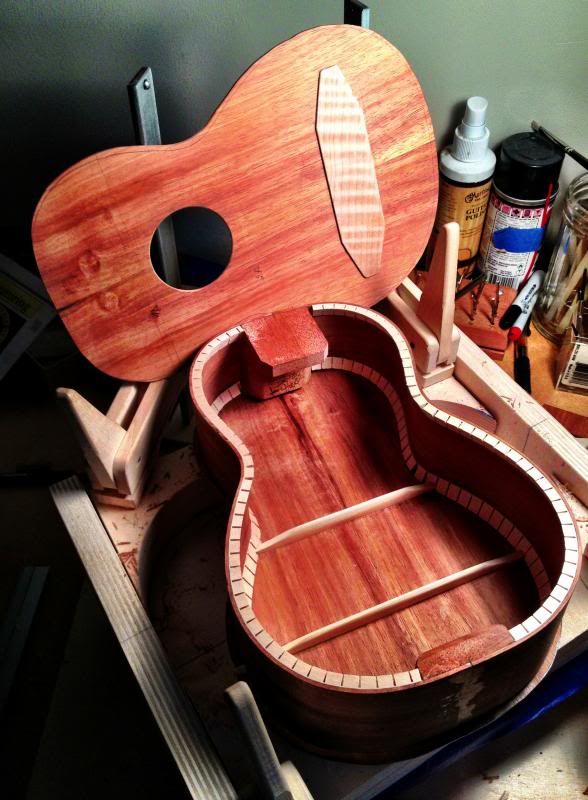
The next step was to brace the top and back. The “kit” I built from included some pre-made
braces, but I happened to have some insanely fine-grained Adirondack spruce
lying around and some pieces were just the right size for ukulele braces, and
cut on the quarter too. I used the
over-sized braces as templates and traced out the lines on my reserve spruce.
Once all four braces were cut out and cut to thickness
(hand tools only!) my Sloan bridge clamp from Stewart MacDonald worked
perfectly for gluing them in. The throat
depth was a great size for a center clamp.
Two tiny spring clamps and a clamping caul flexed the back plate into
the radius that was suggested by the gluing surface of the braces. Notice the scraps of 1/8” cork sheet that are
used to prevent denting the brace wood.
At this point, things started to get serious; it was time
for some highly detailed work. My brace
work extends the brace into the kerfing and through the sides. This guarantees that a brace cannot pop up in
the future. It is a lot more work but
worth it. And it might contribute to
efficient coupling of the skeleton of
the piece. I think it does. Coupling just means that all the mass is
connected as much as possible to assist in enhancing resonance and sustain.
 In this photo you can just make out the braces passing into the kerfing. You can also see the channel that is waiting to receive the top braces. You can also see my label on an instrument for the first time.
The extra work starts with making a hole in the kerfing
and sides for the braces to pass through.
This work is visible from the inside so you gotta do it cleanly. I did it with a xacto knife and my wee file,
taking only tiny slices of wood away until the joint comes together easily but
looks like it’s a snug fit. The
compromise is that you have to bind the sides so that the through-braces are
hidden on the finished instrument.
(Binding is a decorative trim that can be applied to any
free edge. Usually, it’s made out of
some kind of plastic, or wood. Each has
its’ own quirks and wood is usually more difficult because it has to be bent
with heat before it gets glued in. It
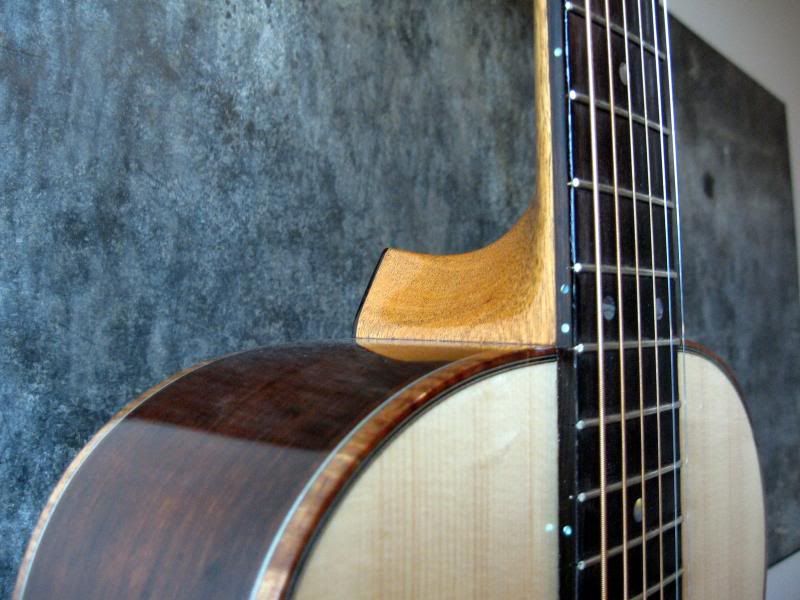
looks like this... the glowing, golden wood on the edges. Purrrty. We’ll look at binding in more detail in my
next post.)
Gluing the back was the next big step I took. I customized my work board by clamping on the exterior mold. The work board has screws all the way around it. This lets me lash a bungee cord across the entire piece and ensures a nice glue up, if I've properly fitted the braces. (Spoiler Alert. I did properly fit them...)
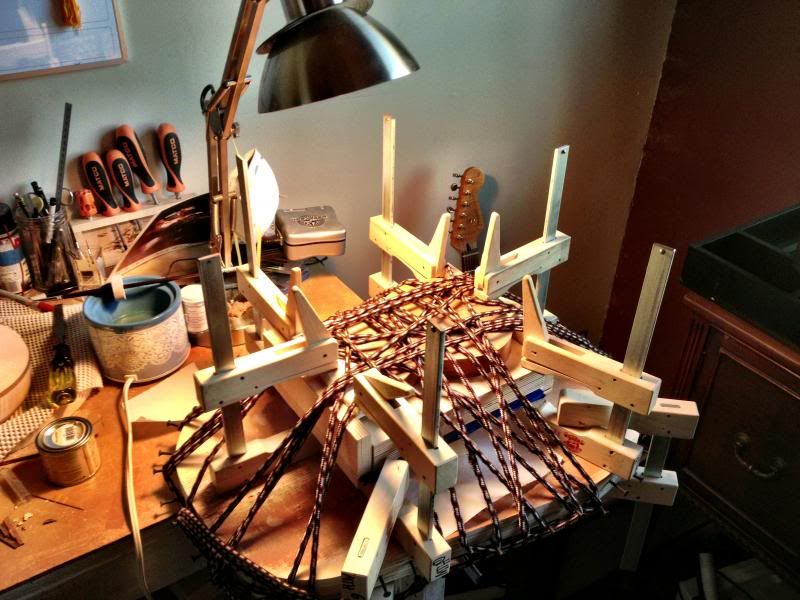 It looks more serious than it is. It came out fine. There's a bit of overhang on the back that had to be filed down. Later, I used a flush-trim bit and a router to make sure I have a nice square corner without a proud edge.
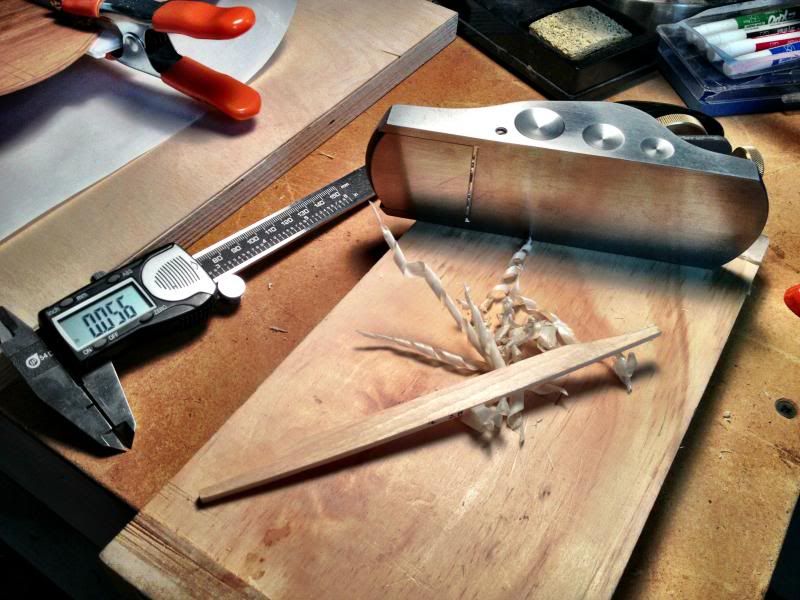
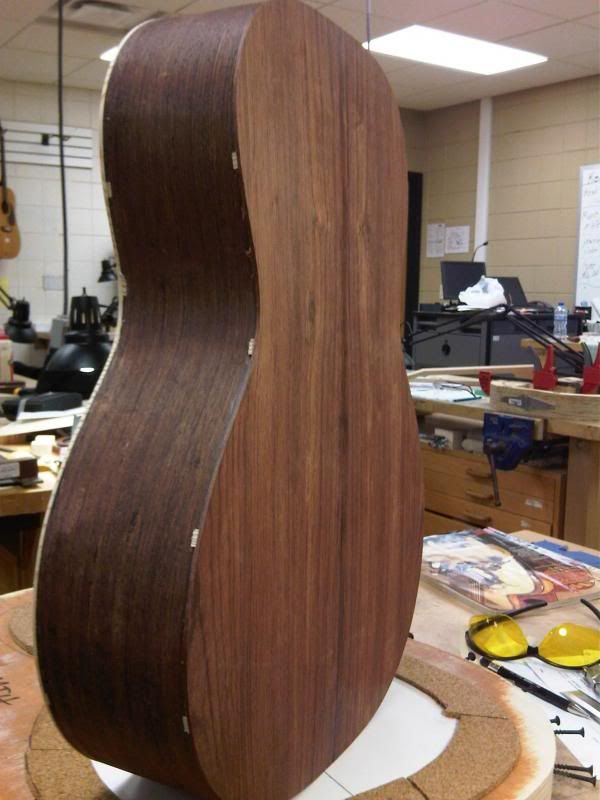
After a bit of interior tweaking, the top will get glued on in the same way as the back. The next big goal is to bend the binding, route the binding channel and then glue the binding in. This process was quite a challenge. It was fraught with difficulties and it taught me a thing or two. I'll tell you all about it next time. And I'll review a great tool from my friends at Stewart-MacDonald. Until then, here's a sneak peak.




No comments:
Post a Comment