
The body produces the volume and tone of a stringed instrument, but without a well-made neck, the body is just a pretty sculpture. Making the neck requires several tricky processes. For things to work out right, most of them have to be done perfectly. That can be a tall order. Here we go.
The very first step is taking my billet of Maple to the power tool room to square the board. This will help me get on the good foot. The guy I ordered the wood from had already done this once and it was still mostly square. Moisture exchange will cause wood to move. Though we have humidifiers that help control the environment in the shop, it can still be an issue. The neck wood is the longer piece in the middle of the pic.
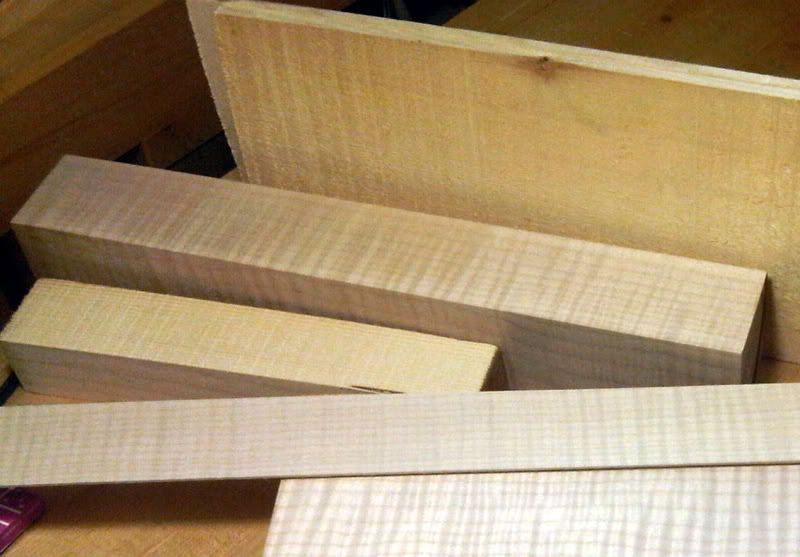
A quick trip through the jointer produces a flat face. A 90-degree rotation and another couple of trips through delivers a square edge. Another 90-degree rotation and a couple of passes through the planer and that's that.
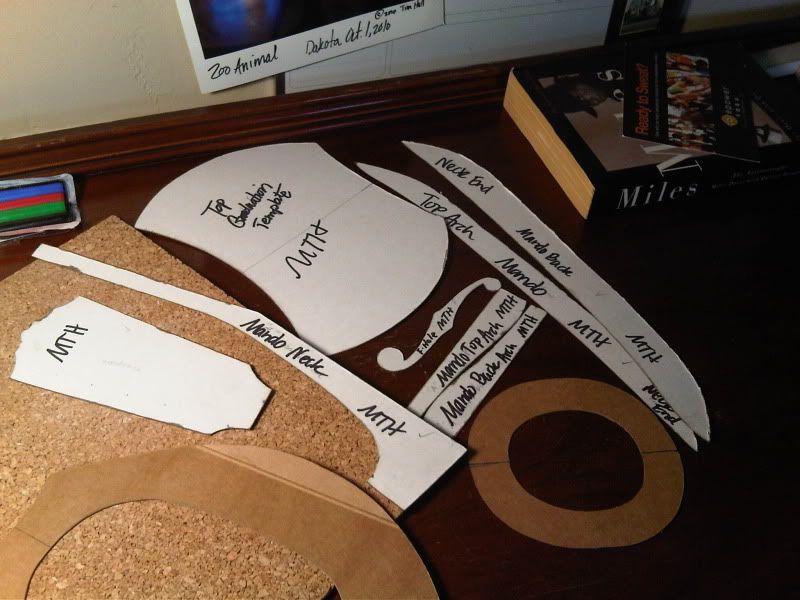
At the beginning of the school year, we created tracing templates for each part of the instrument. These were taken straight from a vintage blueprint and so we are basically recreating an actual instrument that was built in 1922. Kinda cool! Here are templates for all of the arches, the interior graduations and the neck.
I trace the neck template onto the side of the neck billet and then make a bee-line for the band saw. After making sure the saw table is square to the blade, I cut to the pencil line. The goal is to get as close to the line as possible without cutting into it. The exception is to leave a bit of extra length on either end of the heel area for carving later.
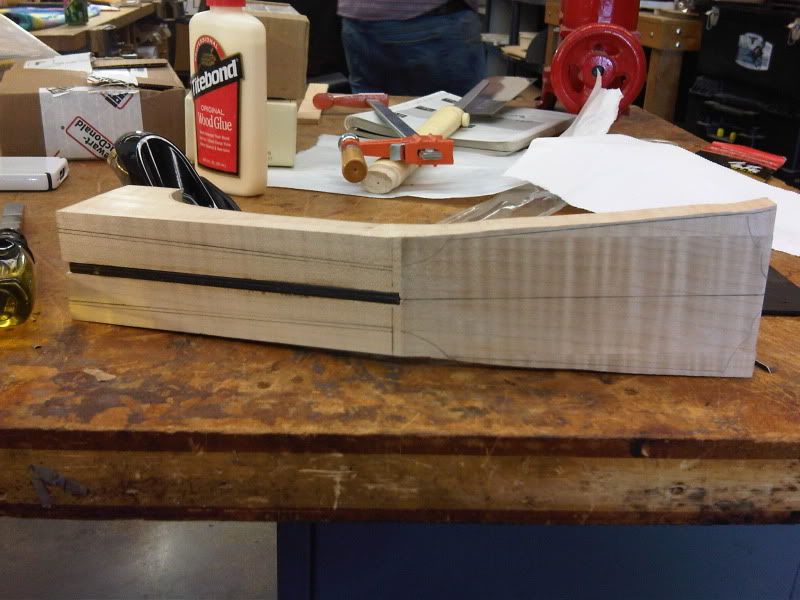
My first cut to the neck was for the profile shape. The wood for the neck is not wide enough to accommodate the Gibson headstock design. This is fairly typical and it helps save wood in the long run. The way to fix this is by gluing on "wings" in the appropriate place for the needed additional width. For this, I used some scrap that came from the cutout of my back plate. It's the same species and also sports the same intense flame as my neck wood. The neck is still square from earlier and this makes it pretty simple.


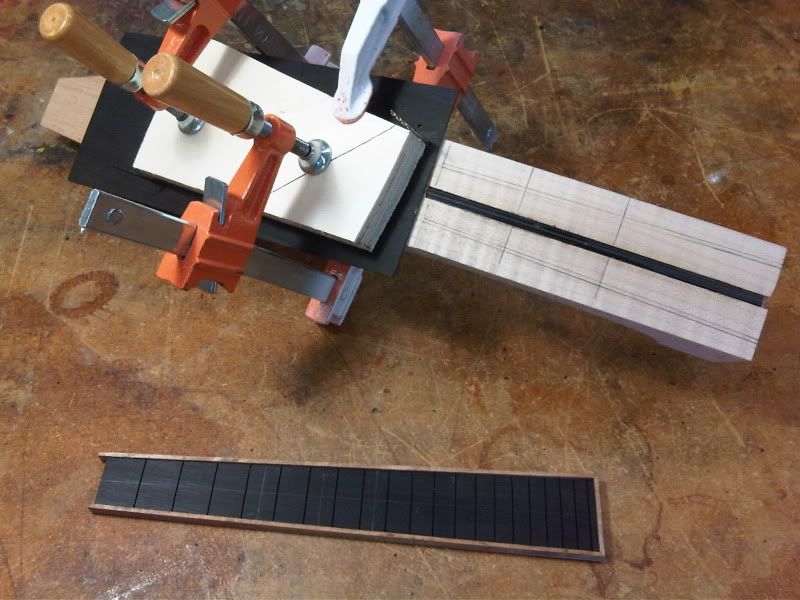
Instead of an adjustable truss rod, I'm using a carbon fiber rod to add some stiffness to the neck. The neck is really short and quartersawn, so it is already muy fuerte. The carbon rod is just a little added insurance. A quick, 1/4-inch route down the center line is all it takes. I cut the rod to fit, leaving about 3/16-inch open at the heal for fitting the neck later.
The rod gets glued into the slot, so after making sure it sits below the surface that will receive the fretboard, I squirt in some glue, clamp it up and set it aside to dry. Meanwhile, I'll move on to other work.
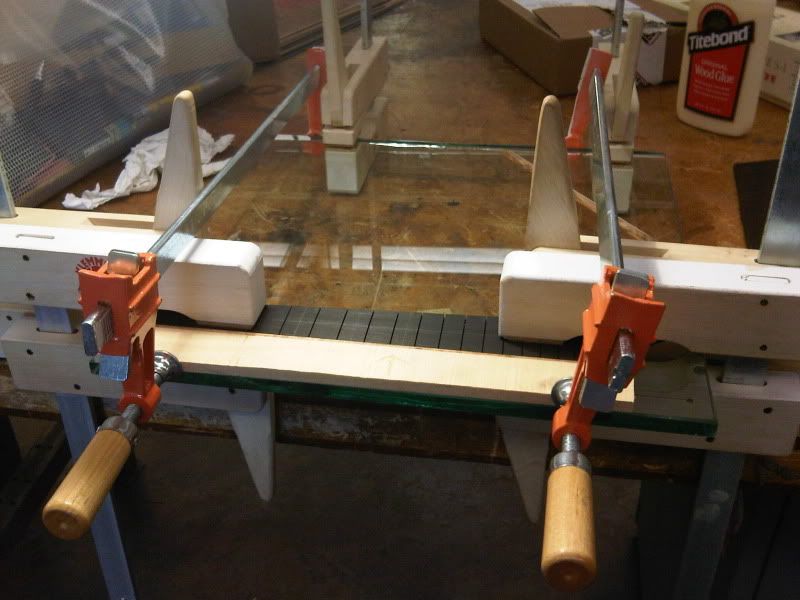
It's time to prep the fingerboard, which is slotted for a 13.75-inch scale length, same as our blueprinted model. I take the fingerboard dimensions right off of the blueprint. After finding the center line of the fingerboard, I mark the necessary taper with some bright blue, low-tack masking tape. This makes it easy to see while cutting on the band saw. Zip, zip and I'm done.
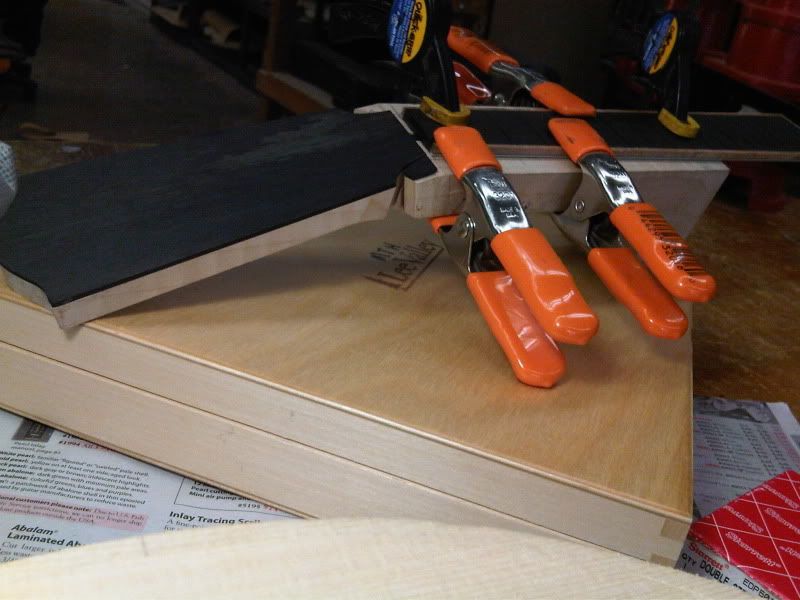
Now I'll add some Koa binding to the edges of the fingerboard. This adds a bit of flash and really ties the room together, if you know what I mean. The fret slots remove just enough wood to cause the fingerboard to curve up a little bit; a Mona Lisa smile. The binding is straight and flat, so this presents a little problem. This is where a builder's problem solving skills come into play and it's part of the fun. I figure out my method then cut the binding to fit, including some nice chamfered ends and start gluing.
BTW, it came out great. A little work with my finger planes and some scraping bring the height of the binding down to match the fingerboard.
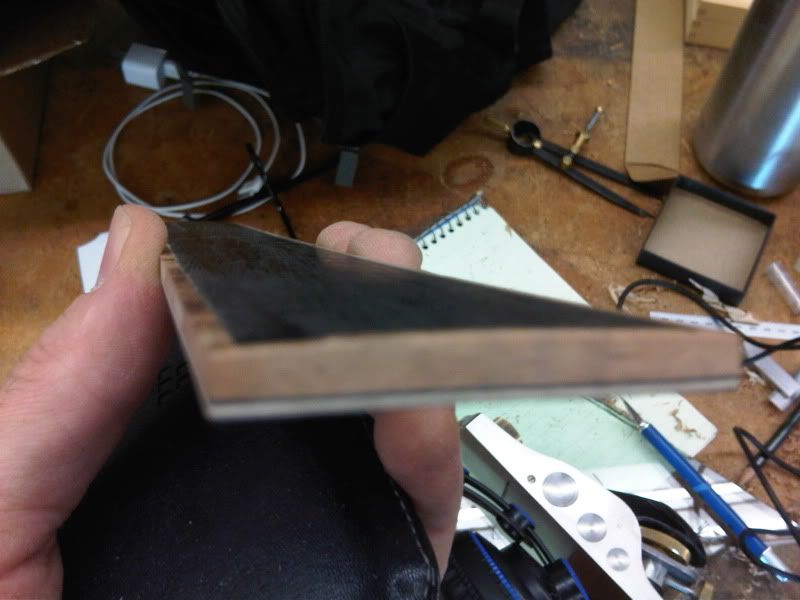
The next step is to glue on the headstock overlay. This is another cosmetic, albeit a traditional one. It is typical to have some sort of inlay done on this area, even if it is just the name of the maker. Inlay can be difficult to perfect. A black background makes it easier to hide any touch-ups that might be required. Because of this, Ebony is frequently used. Holly is also popular because it is cheaper and it readily accepts a dark black dye. This process is called "ebonizing". Go figure.
Earlier, I used a generic, over-sized template and trimmed off most of the excess wood from the headstock. A few passes with my block plane makes sure that the gluing surface is really flat. A few more passes produces the proper angle at the nut-end of the the overlay. This will give me a tight fit later on when I install the nut. Some locating pins are fitted to tiny holes in the face of the overlay and the headstock. These make sure nothing slides around while the glue dries. Clamps help too, but Titebond glue is notorious for letting workpieces slip during clamping. Now I apply the glue, mate the two pieces and clamp them up.
While the sides of the neck are still square, I transfer some important dimensions from the blueprint to the heal area of the neck. These marks will be used to start carving the heal joint in a day or so. (Actually, this is what I should have done. I jumped ahead a step and had to do a little fancy footwork with some glue to sort things out. See if you can spot the mistake in the photo below.)
I can now cut out the face of the neck. I trace the headstock template onto the Ebony, then it's back to the band saw. Because the profile has already been cut, we have to deal with the back angle of the headstock in order to make a good clean cut. I use some double-stick tape applied to a squared block of wood to elevate the entire neck off of the table of the band saw. This makes cutting it out easier and leaves me with edges that are still mostly square.
And now the fretboard is spot-glued to the neck to lay out the dimensions for carving it.
After the neck is set, I will remove the fingerboard to put the frets in. That is several steps down the road though. Until next time, may you see red skies at night.

The very first step is taking my billet of Maple to the power tool room to square the board. This will help me get on the good foot. The guy I ordered the wood from had already done this once and it was still mostly square. Moisture exchange will cause wood to move. Though we have humidifiers that help control the environment in the shop, it can still be an issue. The neck wood is the longer piece in the middle of the pic.

A quick trip through the jointer produces a flat face. A 90-degree rotation and another couple of trips through delivers a square edge. Another 90-degree rotation and a couple of passes through the planer and that's that.
At the beginning of the school year, we created tracing templates for each part of the instrument. These were taken straight from a vintage blueprint and so we are basically recreating an actual instrument that was built in 1922. Kinda cool! Here are templates for all of the arches, the interior graduations and the neck.

I trace the neck template onto the side of the neck billet and then make a bee-line for the band saw. After making sure the saw table is square to the blade, I cut to the pencil line. The goal is to get as close to the line as possible without cutting into it. The exception is to leave a bit of extra length on either end of the heel area for carving later.
My first cut to the neck was for the profile shape. The wood for the neck is not wide enough to accommodate the Gibson headstock design. This is fairly typical and it helps save wood in the long run. The way to fix this is by gluing on "wings" in the appropriate place for the needed additional width. For this, I used some scrap that came from the cutout of my back plate. It's the same species and also sports the same intense flame as my neck wood. The neck is still square from earlier and this makes it pretty simple.


Instead of an adjustable truss rod, I'm using a carbon fiber rod to add some stiffness to the neck. The neck is really short and quartersawn, so it is already muy fuerte. The carbon rod is just a little added insurance. A quick, 1/4-inch route down the center line is all it takes. I cut the rod to fit, leaving about 3/16-inch open at the heal for fitting the neck later.

The rod gets glued into the slot, so after making sure it sits below the surface that will receive the fretboard, I squirt in some glue, clamp it up and set it aside to dry. Meanwhile, I'll move on to other work.
It's time to prep the fingerboard, which is slotted for a 13.75-inch scale length, same as our blueprinted model. I take the fingerboard dimensions right off of the blueprint. After finding the center line of the fingerboard, I mark the necessary taper with some bright blue, low-tack masking tape. This makes it easy to see while cutting on the band saw. Zip, zip and I'm done.
Now I'll add some Koa binding to the edges of the fingerboard. This adds a bit of flash and really ties the room together, if you know what I mean. The fret slots remove just enough wood to cause the fingerboard to curve up a little bit; a Mona Lisa smile. The binding is straight and flat, so this presents a little problem. This is where a builder's problem solving skills come into play and it's part of the fun. I figure out my method then cut the binding to fit, including some nice chamfered ends and start gluing.

BTW, it came out great. A little work with my finger planes and some scraping bring the height of the binding down to match the fingerboard.

The next step is to glue on the headstock overlay. This is another cosmetic, albeit a traditional one. It is typical to have some sort of inlay done on this area, even if it is just the name of the maker. Inlay can be difficult to perfect. A black background makes it easier to hide any touch-ups that might be required. Because of this, Ebony is frequently used. Holly is also popular because it is cheaper and it readily accepts a dark black dye. This process is called "ebonizing". Go figure.
Earlier, I used a generic, over-sized template and trimmed off most of the excess wood from the headstock. A few passes with my block plane makes sure that the gluing surface is really flat. A few more passes produces the proper angle at the nut-end of the the overlay. This will give me a tight fit later on when I install the nut. Some locating pins are fitted to tiny holes in the face of the overlay and the headstock. These make sure nothing slides around while the glue dries. Clamps help too, but Titebond glue is notorious for letting workpieces slip during clamping. Now I apply the glue, mate the two pieces and clamp them up.

While the sides of the neck are still square, I transfer some important dimensions from the blueprint to the heal area of the neck. These marks will be used to start carving the heal joint in a day or so. (Actually, this is what I should have done. I jumped ahead a step and had to do a little fancy footwork with some glue to sort things out. See if you can spot the mistake in the photo below.)
I can now cut out the face of the neck. I trace the headstock template onto the Ebony, then it's back to the band saw. Because the profile has already been cut, we have to deal with the back angle of the headstock in order to make a good clean cut. I use some double-stick tape applied to a squared block of wood to elevate the entire neck off of the table of the band saw. This makes cutting it out easier and leaves me with edges that are still mostly square.
And now the fretboard is spot-glued to the neck to lay out the dimensions for carving it.

After the neck is set, I will remove the fingerboard to put the frets in. That is several steps down the road though. Until next time, may you see red skies at night.

No comments:
Post a Comment