
The current term at Southeast Tech in Red Wing is just about complete. Our lab is filling up with instruments that are almost ready to be strung up and played. It is exciting to see what my mates have built over the last nine months. We have all received the same instruction and work from the same blueprints, yet each of us interpret and employ that information to service our individual vision. The results are beautiful to see and will soon be a delight to play and hear. I am proud to be a part of this talented group of people.
In the past weeks, my mandolin has come a long way. Let’s take a look at the progress, beginning with the binding routes.
Binding is an ornamental trim that is applied to the free edges of an instrument. Typically, it is a plastic or wooden strip and the colors, width and thickness run the gamut. It can be a simple single layer or many different layers. Multiple layers of binding are associated with a deluxe, Cadillac aesthetic. One reason for this, to those in the know, is that a flawless application of binding is not easy to achieve.
Binding is an ornamental trim that is applied to the free edges of an instrument. Typically, it is a plastic or wooden strip and the colors, width and thickness run the gamut. It can be a simple single layer or many different layers. Multiple layers of binding are associated with a deluxe, Cadillac aesthetic. One reason for this, to those in the know, is that a flawless application of binding is not easy to achieve.
In order to bind an instrument, a channel has to be routed into the body. We use a laminate trimmer with special fittings to accomplish this. The trimmer is just a small router, though it is equally dangerous to use as a big ol' 3 1/2 horsepower monster. It is mounted to a sort of elevator-type jig that allows flowing vertical motion.

The trimmer has a “shoe” fitting that rides on the surface of the instrument and helps control how deep the route goes into the sides. The shaft of the bit is outfitted with a bearing disc that rides along the edge of the work piece. This keeps the blade a certain distance away from the wood. The discs come in many sizes to accommodate an array of binding thicknesses or multiple layers.
These different accessories help get the job done, but they are not fail-safe. Disasters, both natural and man-made, lurk around every turn. An example of a potential natural disaster is the orientation of the wood grain and its' effect on how the router bit cuts. I was reminded of this the hard way.

This mess happened in about .9 seconds. Though it could have been a lot worse, it is an awful feeling to witness something like this. I imagine it is similar to how a parent feels when their young one falls down the stairs or shoots his eye out. You’ve done your best to provide a safe environment, but things can and do go wrong anyway.
After regaining my composure, I tapped a little hot hide glue into the cracks, gently pressed the pieces back into place and firmly taped the edge to act as a clamp. The repair worked really well. Even my trained eyes can’t detect the scars from the accident. Excellent!
Because of the copious amount of contouring in the arches, our groovy little routing system won’t do the job around the area where the neck will be located. So, I go old-school and do the rest with hand tools. I used an X-acto knife and a piece of acetate that I trimmed using a straight edge.
The acetate acts as a guide to carry the line created by the laminate trimmer through to the point where it needs to terminate. An adjustable purfling knife scores a line around the tricky curves. Chisels and my arching gouge get the rest of the channel ready to receive the binding.
The acetate acts as a guide to carry the line created by the laminate trimmer through to the point where it needs to terminate. An adjustable purfling knife scores a line around the tricky curves. Chisels and my arching gouge get the rest of the channel ready to receive the binding.

Now I flip the mando body over and route the back in the same way, minus the train wreck. Maple is significantly harder than the soft Spruce of the top. It is not as prone to chipping and I got a nice clean route. Whew!
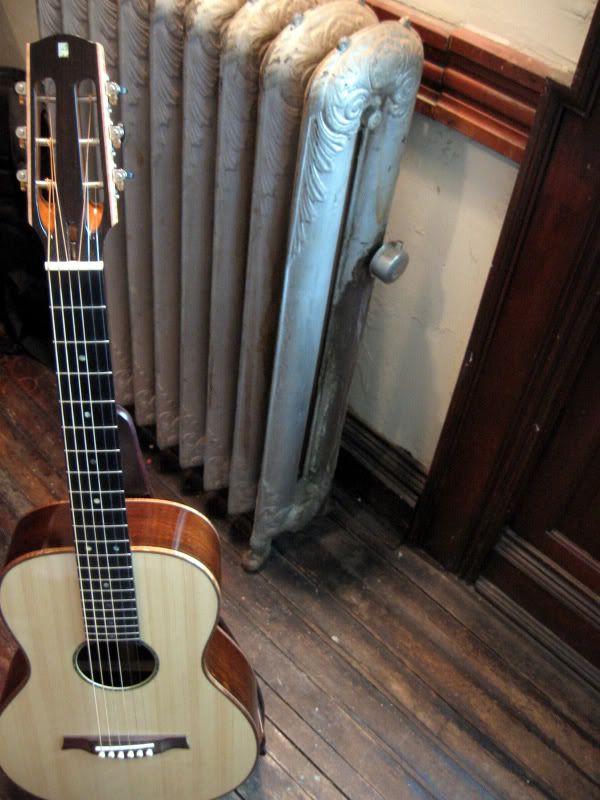
I selected some nicely figured Hawaiian Koa to bind the mandolin. I planned for this instrument to partner with the wee acoustic guitar that I built last year. Matching Adirondack Spruce tops with Koa binding will look great together. I bet they will sound great together too.
The binding comes in straight lengths and they must be bent in order to fit into the channel cleanly. I use the same jig that I used to bend the ribs several months ago..
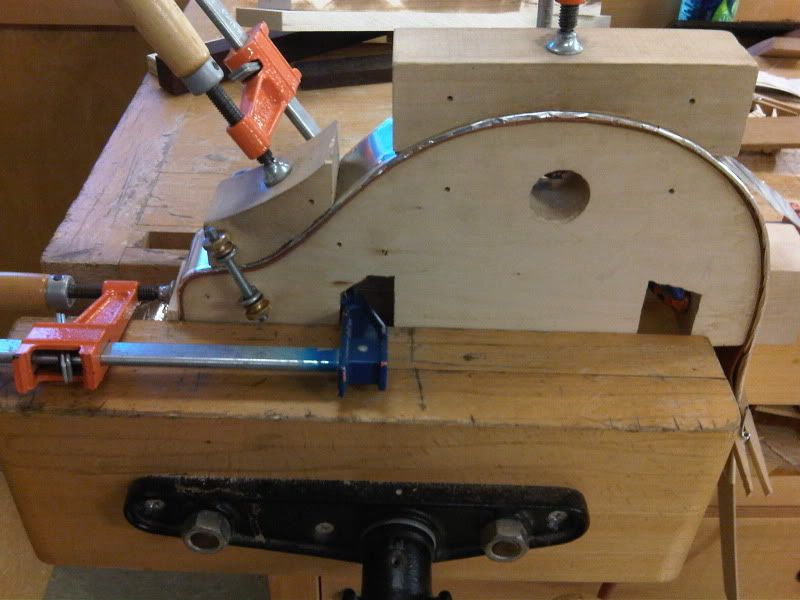

The binding comes in straight lengths and they must be bent in order to fit into the channel cleanly. I use the same jig that I used to bend the ribs several months ago..

Figured woods are especially prone to cracking when they are bent, but this process went off without a hitch.
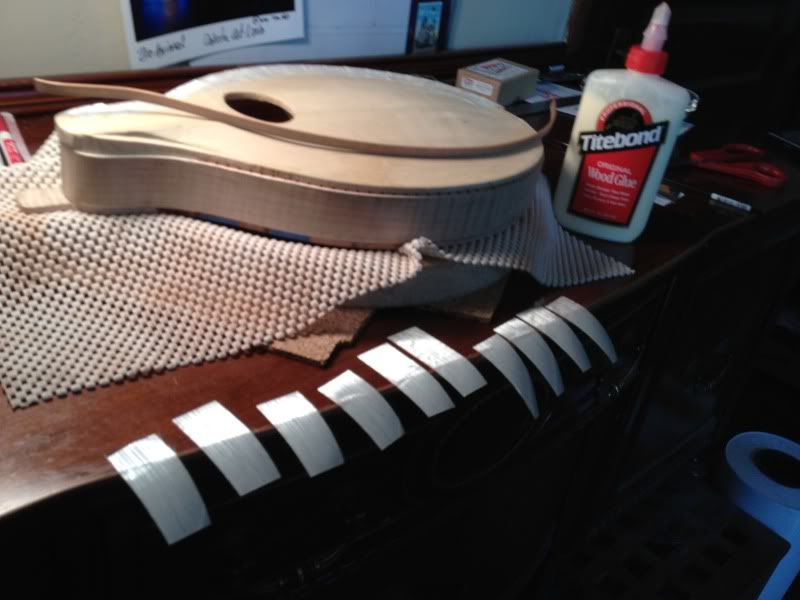
After cutting the four binding pieces (two for the top of the instrument and two for the back) to the exact length of the channels, I double check the fit. Looks good! Starting on the top, I squirt on some glue and inch by inch, firmly press the binding in. I apply some pieces of pre-cut strapping tape over the binding to keep things in place until the glue dries.

Hours later, I gently peel the tape off. I wound up with a couple of ugly gaps around the curves of the neck area. Boooooo.
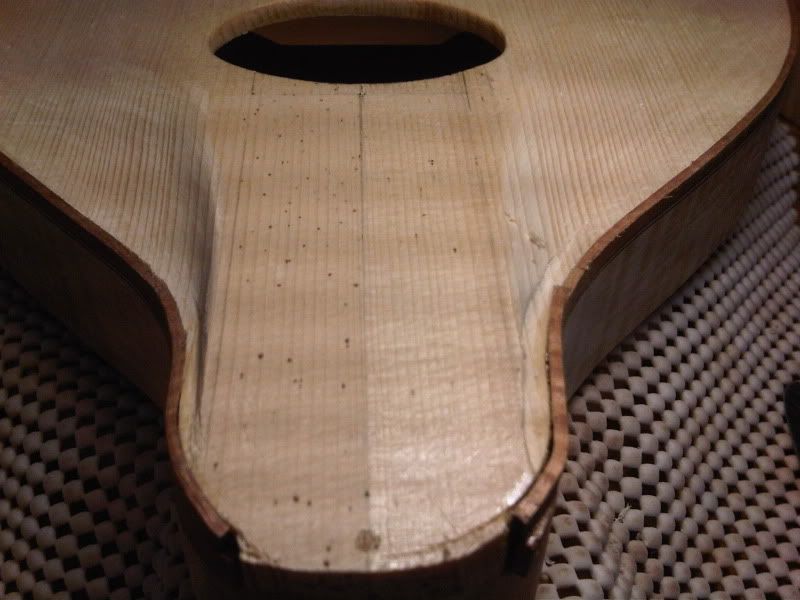
Due to the radical topography of the top, I have to fit in a couple of extra pieces of Koa anyway and these will conceal the gaps and (mostly) make everything nice and pretty. A dab of "luthier's miracle" wood filler paste will get me the rest of the way home.
The binding for the back of this mando will be glued in after the neck is fitted. This allows me to blend everything together, nice and tight, but still spicy and intriguing. Sorta like cooking up a great meal. In the end, it should appear as if this little darling is just one gorgeous piece of natural born, multi-species wood, instead of a bunch of sewn together pieces.
Keep your eyes peeled and I'll see you next time.
No comments:
Post a Comment