If you are really into this stuff, guitar building and repairs, check out my Guitar World blog. So far I have interviewed guitar virtuoso Eric Johnson, built a cool pedal board for stomp boxes and now I'm doing a fun hot rod project on a Telecaster. Have a look right here.
Lots of progress has been made on the mandolin since the most recent post. The interior arch graduations were completed a few weeks ago. I'm am totally pleased with the way they turned out. I cannot say enough about the amazing cabinet scraper. Mine was cutting so well that the inside of this soundboard looks like it has been polished. It is actually shiny, from the proper angle.
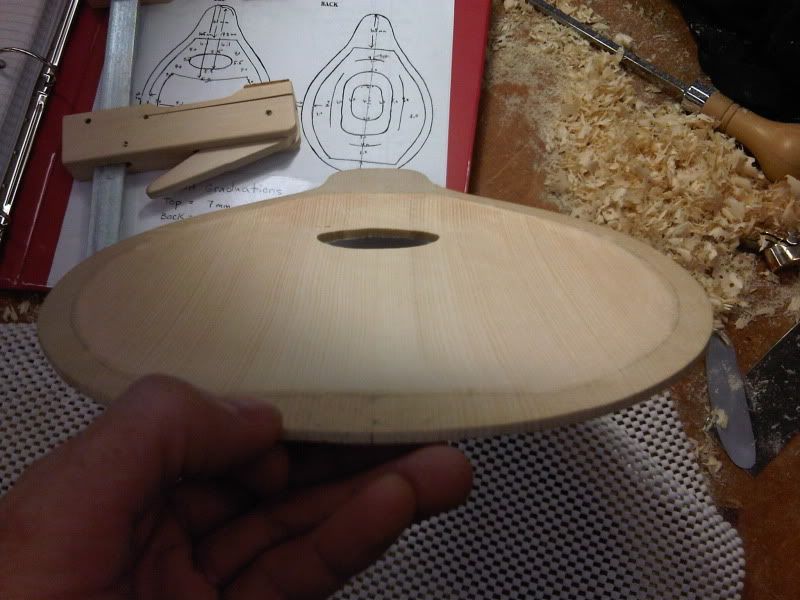
The top is now nearly ready to begin fitting the transverse brace. This is the only bracing on the entire instrument. By contrast, the average flat-top acoustic guitar has 13 (!) different pieces of bracing on its' top alone. The blueprint lists the dimensions for the brace at 113,5mm X 13,5mm X 9,5mm. The brace will be located 7mm behind the opening of the sound hole, perpendicular to the center line of the instrument. After laying out the location of the brace on the inside of the sound board, we glue in carefully carved "cleats" that allow just the tiniest bit of latitudinal wiggle room. The gluing surface of the brace has to conform perfectly to the curved interior footprint that it will occupy. To acheive this, we return again to chalk-fitting.
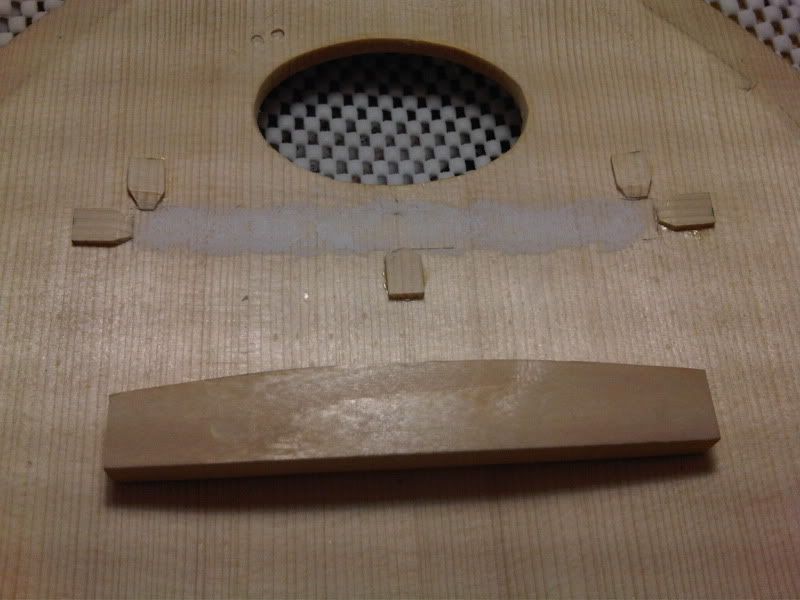
Here, you see the footprint of the brace laid out. The cleats mark the exact location but leave a tiny bit of space to wiggle the brace left to right. A bed of chalk dust leaves residue on the parts of the brace that make contact when fitted. These areas get shaved off and the the brace gets wiggled in the footprint area again and again. We keep shaving off the high points until we have full contact.
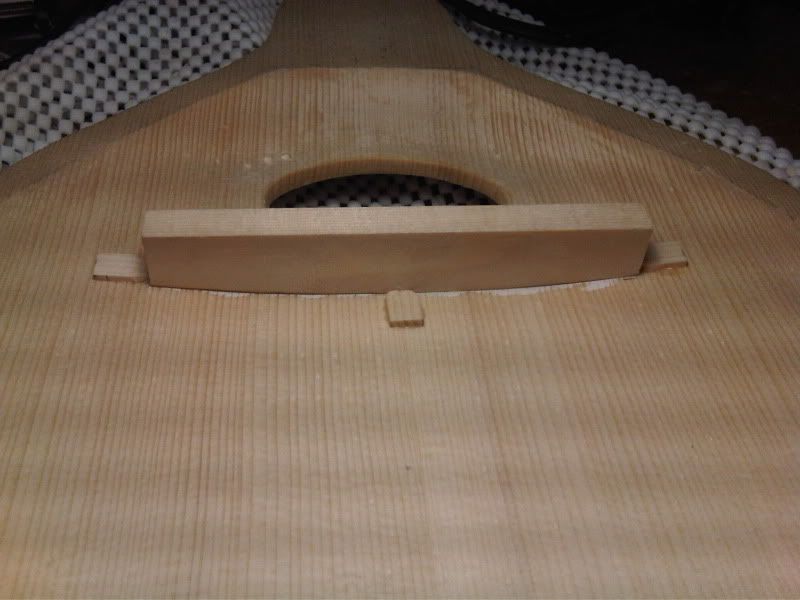
Now that the brace fits perfectly, we are going to cut some more wood from it! In order to add a bit of strength and perhaps liven up the tone-making properties of the top, we are going to "spring" it. I'll shave another millimeter of height from both outside edges of the brace and make a gentle curve into the existing center height. When the top finally gets glued to the brace, it is actually being bent and forced to hold this flexed position. If you look closely, you'll see just a little bit of light creeping under the ends of the brace.
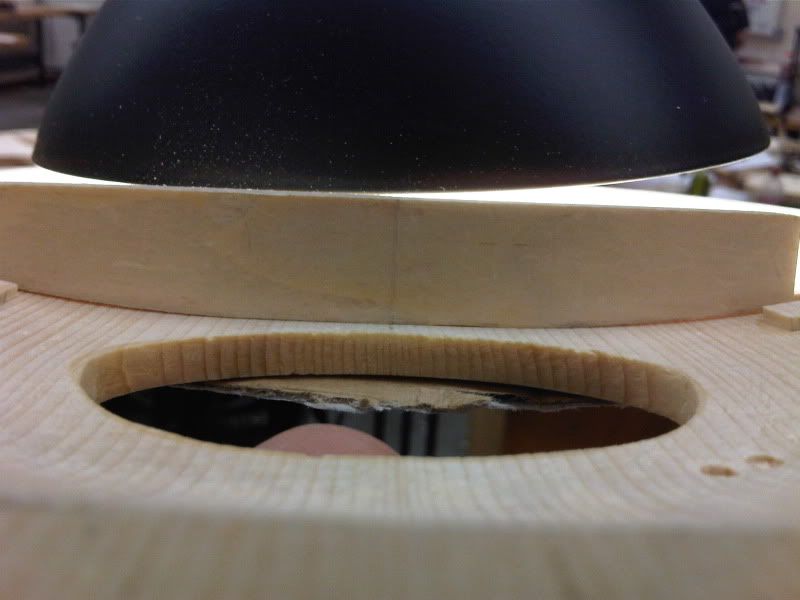
Before gluing, we double check the fit of the brace by placing it within the boundaries of the cleats and then flexing the top from the inside. Checking both sides of the brace assures me that I will have a high-quality glue joint. After making a clamping caul to protect the exterior of the top from being marred, I do a couple of dry runs to make sure clamping up goes smoothly. Now I add a light coat of hide glue to the brace and clamp it to the top, right inside of the cleats. They will now prevent the brace from sliding around on the top at all. Once the glue has hardened the cleats pop off without too much effort.
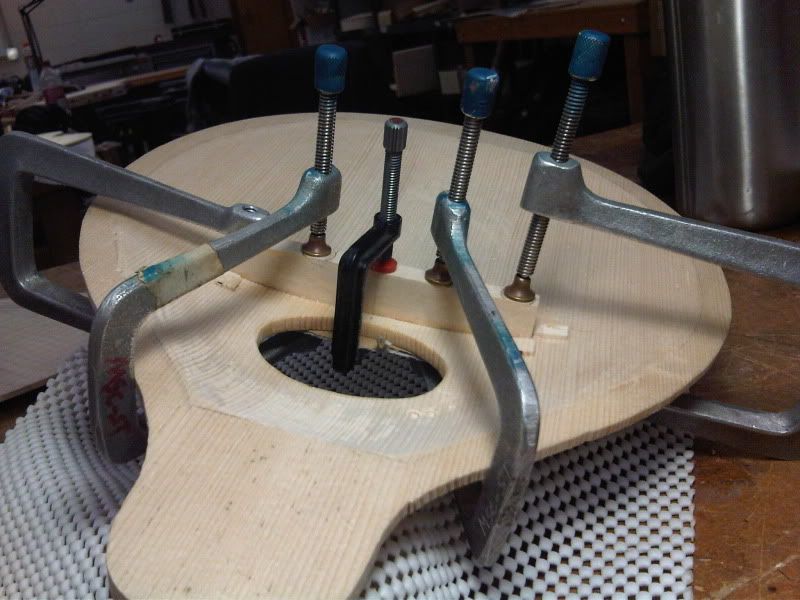
The cabinet scraper is used again here, this time to clean up any glue squeeze-out and residue from the cleats. It just takes a few minutes to do this and then I am on to final shaping of the brace. The block plane and chisels are used to remove excess wood from the brace. It is both a practical and an artistic endeavor.
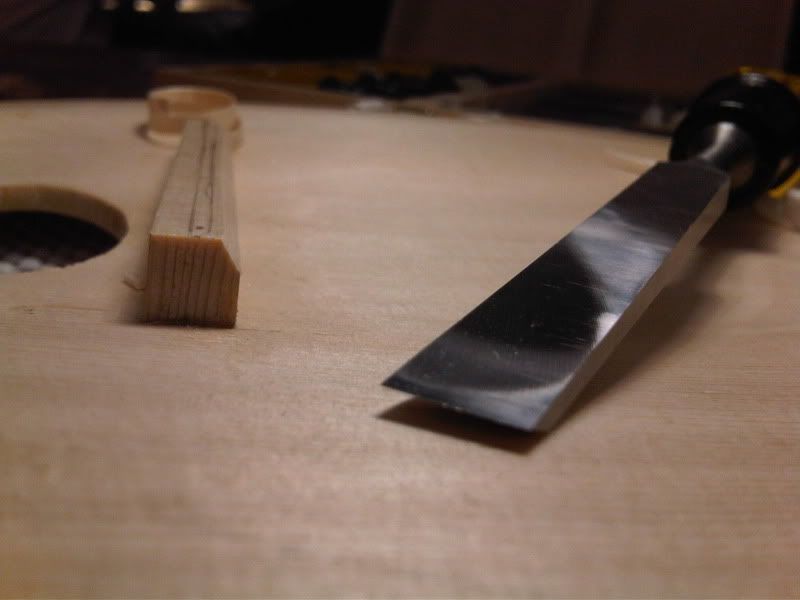
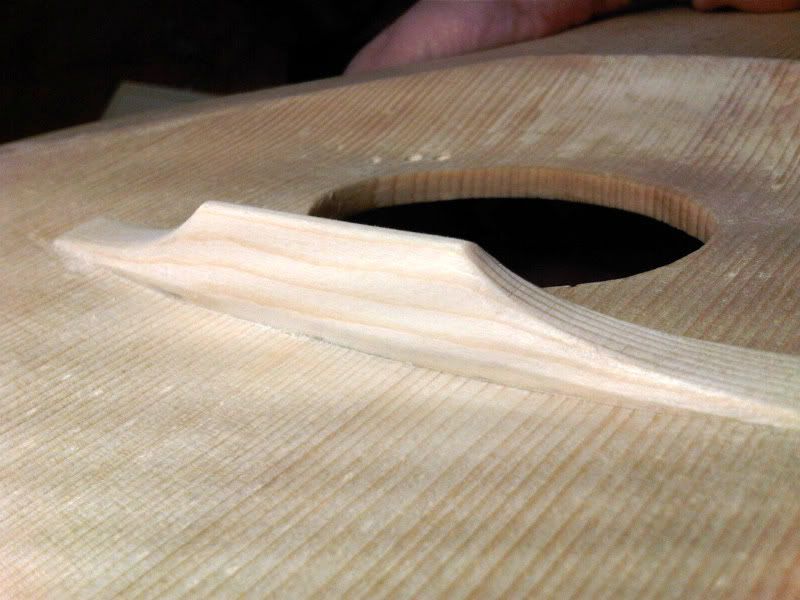
Bracing that is too heavy will subvert, rather than contribute, to good tone. Too much mass in the brace results in a dampening effect. Too little mass results in a cave-in. The blueprint has a suggestion for a good middle ground.
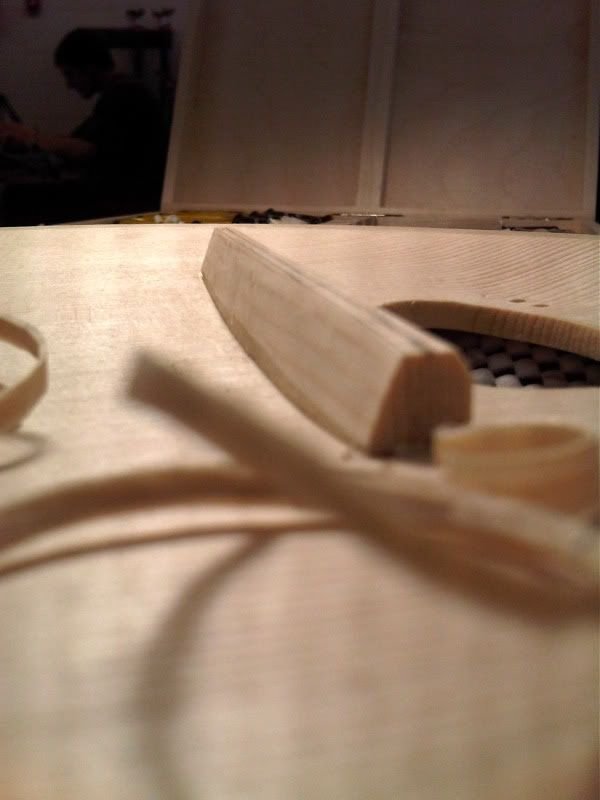
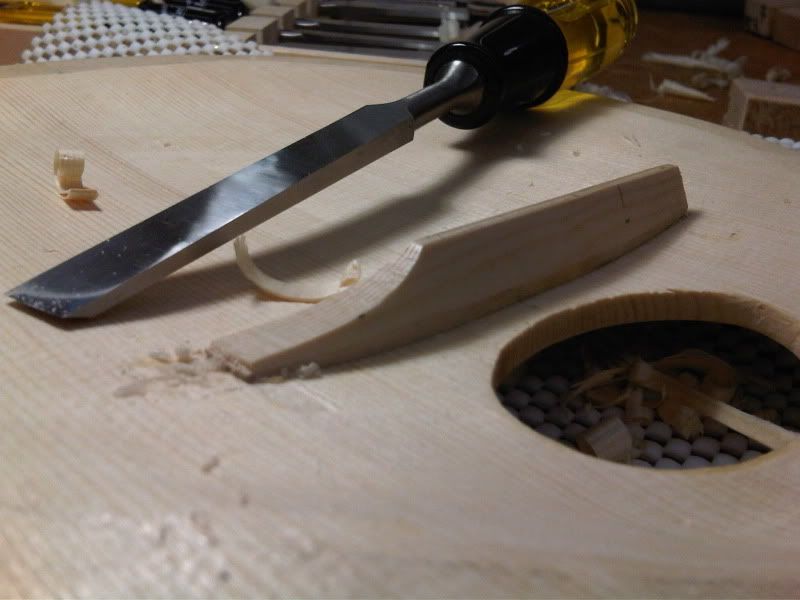
From there, flexing, intuition, wood species characteristics and experience should dictate the final carving. Since I am short on experience, I rely on the rest to satisfy the job. I think it will work.
See you soon...

I'm getting excited to see this thing finished! So interesting!
ReplyDelete